We’ve been busy working with Art-Work Agency to design and print a 3D calendar for 2020. So, we thought we’d share some tips on how to create your own 3D images.
For this tutorial we’ll be using Adobe Photoshop 2020 but every step is compatible with Photoshop CS6 and earlier.
STEP ONE: Open your image
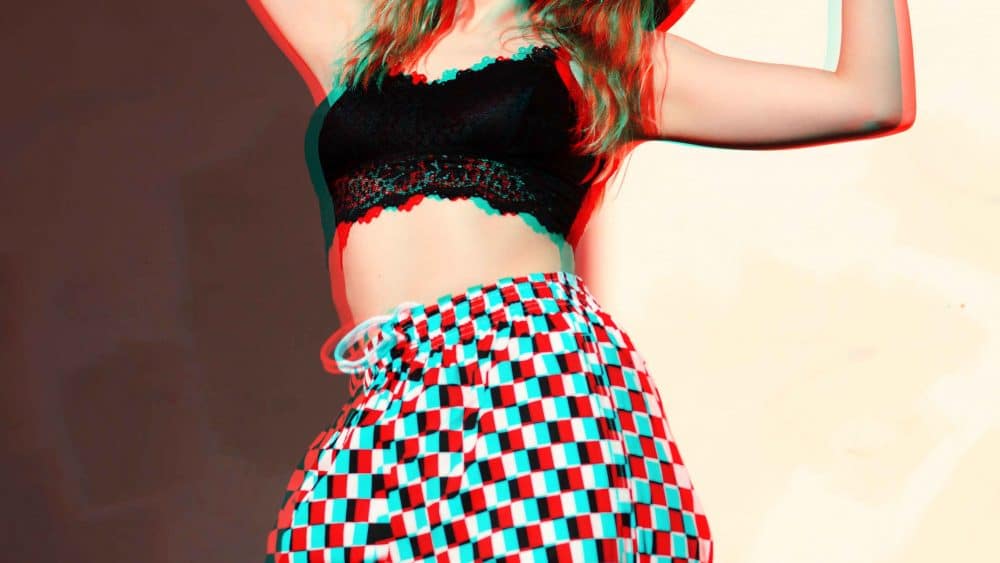
Start your 3D project by first opening your image in photoshop. We’re using this funky photo by Anton Levin that we found on Unsplash.

Link – https://unsplash.com/photos/1VaVFIzE-vk]
Photo Credit: Anton Levin: Unsplash
STEP TWO: Duplicate the background layer and name it
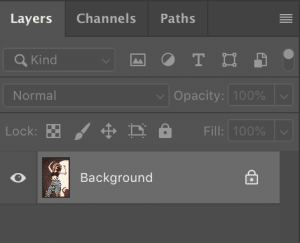
Now that we have opened our image we can see the layers panel on the right of the screen. Our image will be sitting on the background layer, which is currently the only layer in the document.
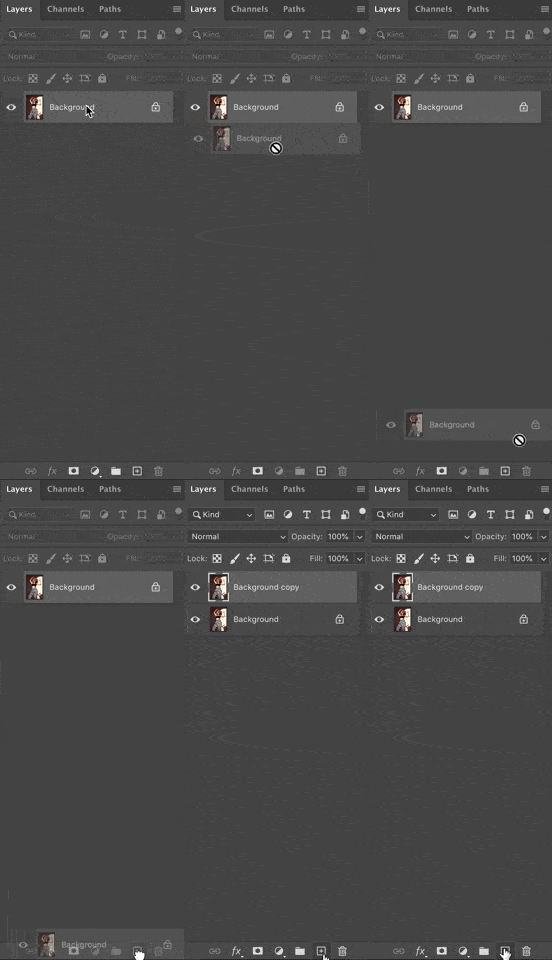
The first thing that we need to do is make a copy (duplicate) the background layer. You can do this by clicking on the background layer and dragging it down onto the New Layer icon at the bottom of the layers panel.
Duplicating Option 2: Another option is to right click on the layer and select duplicate layer.
Photoshop will add a copy of the image as a new layer above the original.
To rename the layer double click and type 3D.
Tip* You should always rename your layers to avoid confusion down the track. Get into good file management from the start to avoid any issues – especially if you are handing your files over to a printing company or another designer!
STEP THREE: Open the layer style dialogue box
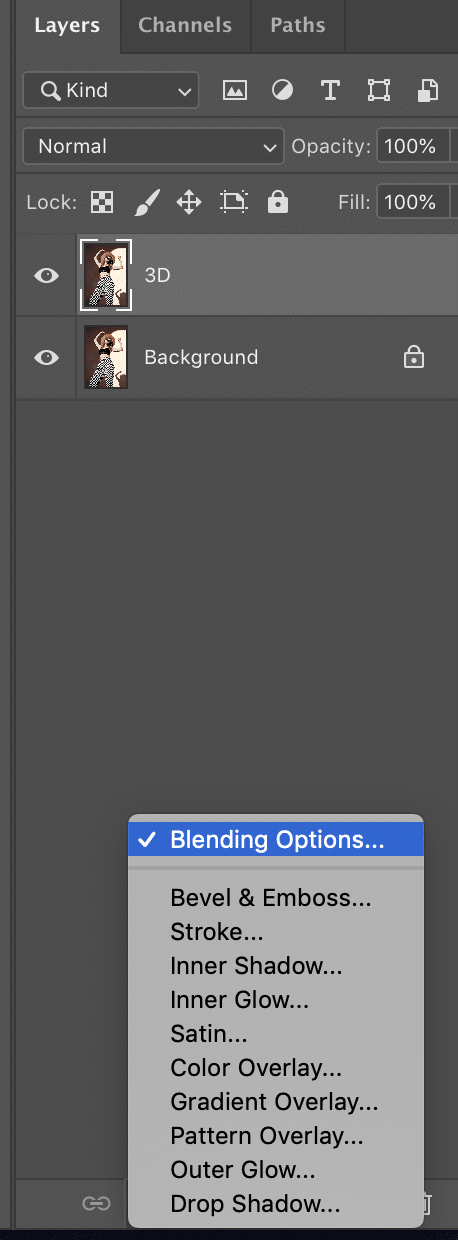
With your 3D layer selected click on the Layers Style (fx) button at the bottom of the layers panel.
Now, choose Blending Options.
STEP FOUR: Turn off the Green and Blue Channels
Clicking on the Layers Styles icon opens Photoshop’s Layer Style dialog box with the blending options in the middle column.
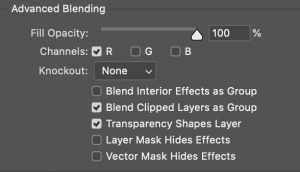
In the Advanced Blending section, look for the Channels option, with checkboxes for R, G and B.
The “R”, “G” and “B” stand for Red, Green and Blue which are the three primary colours that mix together to make up every other colour we see in the image. Photoshop mixes these primary colours using channels. There’s a channel for red, a channel for green, and a channel for blue. To create our 3D retro effect, we need to turn off the green and blue channels on our “3D” Layer.
To do that, uncheck the G and B boxes, leaving only the red channel selected. The, click OK.
To see what has happened hide the Background layer for a brief moment by clicking its visibility icon in the Layers panel.
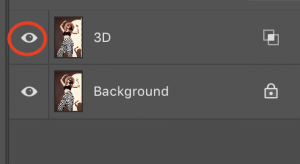
With the background layer hidden and only our “3D” layer visible, we see that the green and blue channels off, the image on the layer appears only red.
This is what our image looks like now:
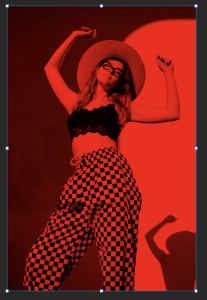
Once you have checked that it has worked make sure you turn the visibility of the background layer back on!
Now you should see the full colour image again.
Step 5: Nudge your image to the left and see your image in 3D
At this point to create our 3D image effect all we need to do is offset the image on the “3D” layer so that its out of alignment with the image below it. To do that select the Move Tool from the toolbar.
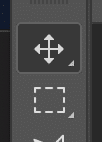
Then, with the “3D” layer seleted in the Layers panel use the left arrow key on your keyboard to nudge the image on the layer towards the left. As you do, you’ll see a red outline appearing along one side of each object in the image. And because cyan (or blue) is the opposite of red, a cyan outlone appears along the other side; creating our 3D effect! The further you move the image, the thicker the red and cyan outlines will appear, so adjust the effect until you are happy with the result!
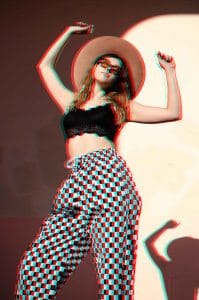
Now, put on your 3D glasses from our 2020 Calendar to the see the effective result!


Comments are closed.